Interface Sensor Mounting and Force Plates
Test and measurement systems are defined by the sensor, instrumentation, and mounting hardware. Mounting considerations are crucial when designing your system. Utilizing best practices in mounting is also extremely important, especially if you are utilizing multi-axis sensors. Deflections in the system can introduce errors and apparent crosstalk into the sensor measurement.
Mounting plates are used to secure sensors during use. The plates should emulate how the sensor was calibrated, so if it was calibrated on stiff plates these characteristics should be duplicated when using the sensor. Plates should be stiff in design, as a flimsy plate secured on corners can introduce errors, such as off-axis loading, due to bending.
Interface mounting plates are made from the best grade alloy and stainless-steel, machined to the tightest specifications, and are designed exclusively to maintain the performance of the sensor in your application.
Interface Mounting Plates Features and Benefits
- Designed to work with Interface products
- Made with the highest quality components and processes
- Created to maintain the specification of the sensors
- Distributes the load over the foundation of the supporting structure
- Provides a prepared surface for the load cell
- Eliminates the requirement for expansion assemblies in most installations
- Available in standard and custom options
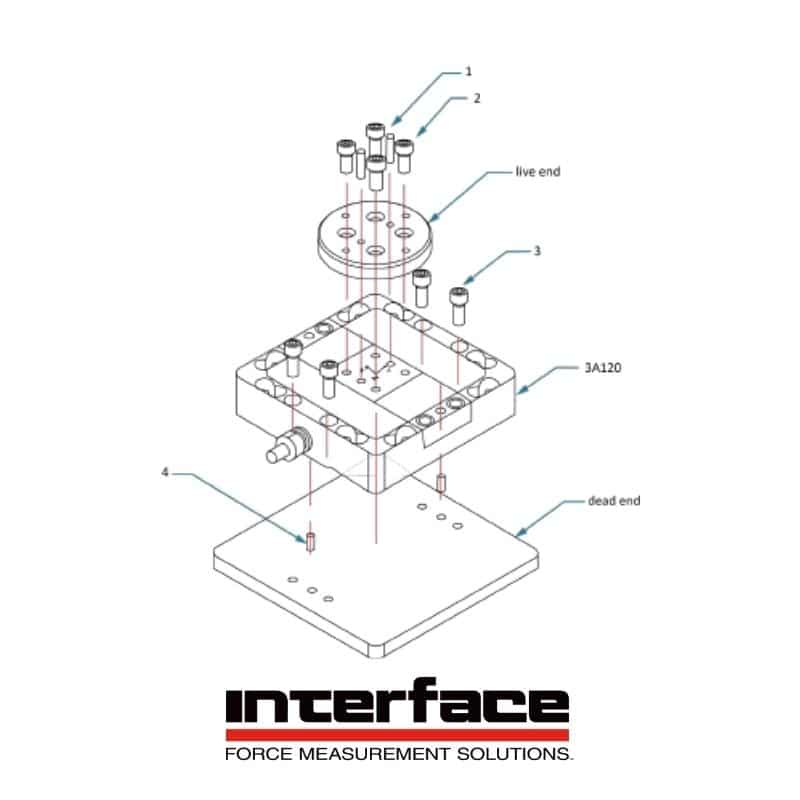 Mounting instructions are specific to each sensor model. Interface offers complete product datasheets and drawings to locate the features for mounting. We also publish mounting instructions for our torque transducer models, as highlighted in our recent Inventive Multi-Axis and Instrumentation Solutions webinar. The instructions we offer include model, material, capacity, mounting holes, threads and dowel pins and pilot specifications, for both live and dead-end use.
Plates must deflect uniformly to minimize local deformation at the mating surfaces. You may need to use a double plate mounting arrangement, also known as a sandwich mount. In this case, they need to be suitably thick. They must be flat and smooth and the same material as the sensor for thermal matching.
 Interface offers top plates and bottom plates for load cells. Mounting Plates for Low Profile™ Load Cells are used in the installation of a compression load cell under a weigh bridge, tank, or other structure normally requires that mounting plates be used. The bottom plate is designed to mate with the load cell and is fabricated of mild steel. It distributes the load over the foundation or supporting structure and provides a prepared surface for the load cell.
The top plate distributes the load to the weighing structure and provides a hard surface for the load button. The top plate will move on the button due to thermal expansion, load shifting, wind loading, and other side loads. The high side load capacity of the Interface load cell eliminates the requirement for expansion assemblies in most installations. Mounting plates are suitable for compression loads only; they will not properly support a universal load cell used in tension.
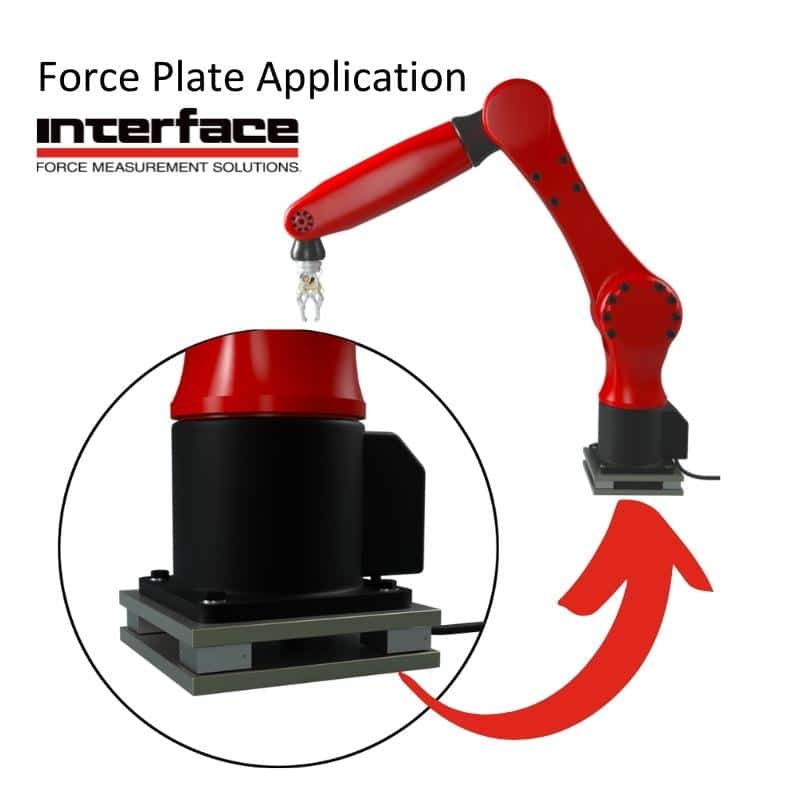 Interface has recently introduced force plates. Interface Force Plates are a system of multiple multi-axis sensors mounted between two plates. They are ideal for larger capacities than single 6-Axis sensors and can react high moments. Results dependent on characteristics of the plates and other system components and for load introduction and bigger sensors, you should consider in-situ calibration. Force plates are used for applications such as robotic arms. When secured at the base of the arm, the four sensors are providing feedback during use.
You can learn more about force plates and mounting plates for multi-axis sensors in our latest webinar. Learn more by watching the multi-axis webinar here.
Interface offers mounting plates in our accessories product line. For custom applications, such as our force plates or multi-axis mounting plates and systems, contact our Application Engineers today.
Additional Resources


